


Ultralight Backpacking Guide! Part Two
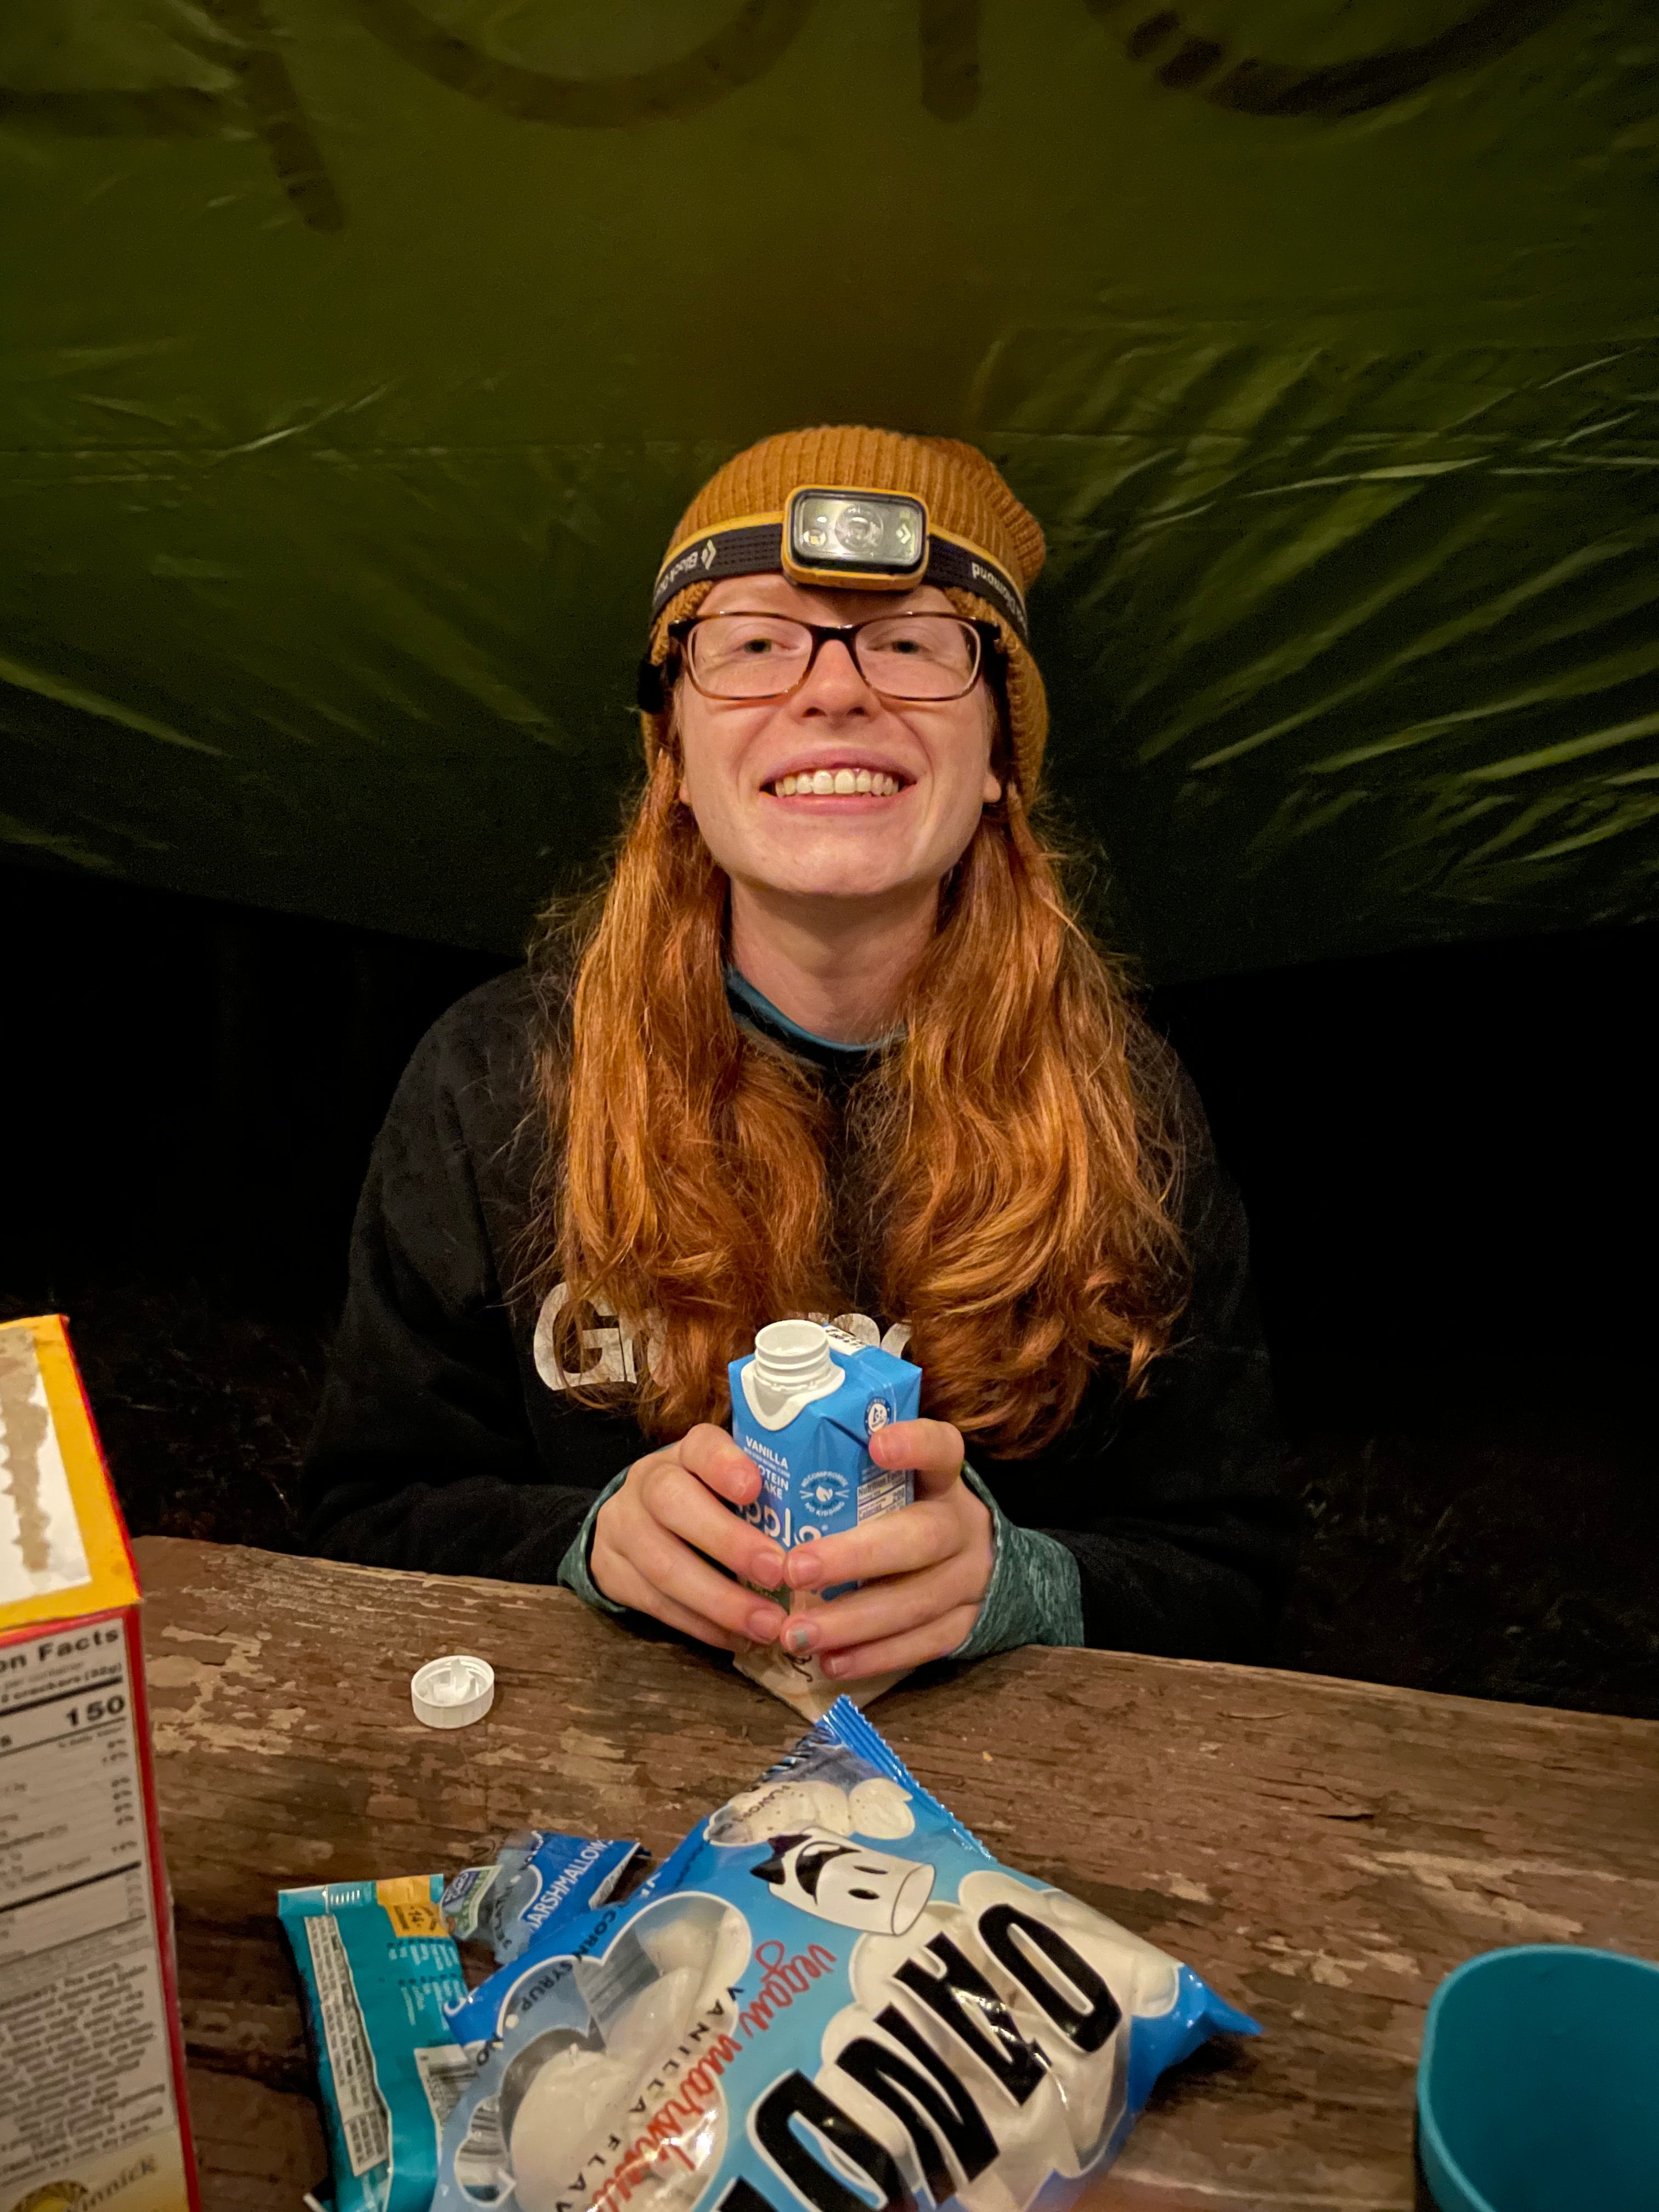
This week is all about the food! Let's dig in

This week, we’re back with another installment of how to carry as little as possible while still somehow breaking your body in the process all for the sake of having fun in the middle of nowhere. In other words, welcome to part two of this ultralight backpacking series! It’s great to have you here and I hope you aren’t hungry because if you are, you might lose your appetite from discussing the gross consistency of cold soaked Ramen and instant mashed potatoes. That’s right. Today we are going over all things food related while on the trail. To recap, last week we went over the difference between ultralight and traditional backpacking. We also touched on which items are considered survival non-negotiables and luxury “must-haves” and how at some point sacrifices have to be made that might make us mentally uncomfortable, yet physically comfortable (to some extent).
To dehydrate or not to dehydrate? That is the question
So, let’s jump right in! Typically, the heaviest items in your pack will be food and water. The great part though is that as you consume more of said food and water, your pack gets lighter. Hooray! But not so fast. What foods you choose and the way you organize them inside your pack are all contributing factors as to how much your pack will weigh overall. And sometimes that means eating foods that may not be the most appealing. Not hooray. With backpacking in general and living in the backcountry for days on end, the foods you eat will be somewhat different than what you would normally eat at home.
Unfortunately, there are no Taco Bells at every switchback and full-sized kitchens with Ninja Foodies at each campsite. Therefore, a backpacker has to rely on quick-to-cook, lightweight, shelf-stable foods that are also nutrient-dense because after hiking very far, your body needs a lot of fuel. But at the same time, your body is exhausted and just wants to sleep. This is why dehydrated meals exist. They meet all of these requirements listed above with the “simply add boiling water to the fill line and wait ten minutes” feature.
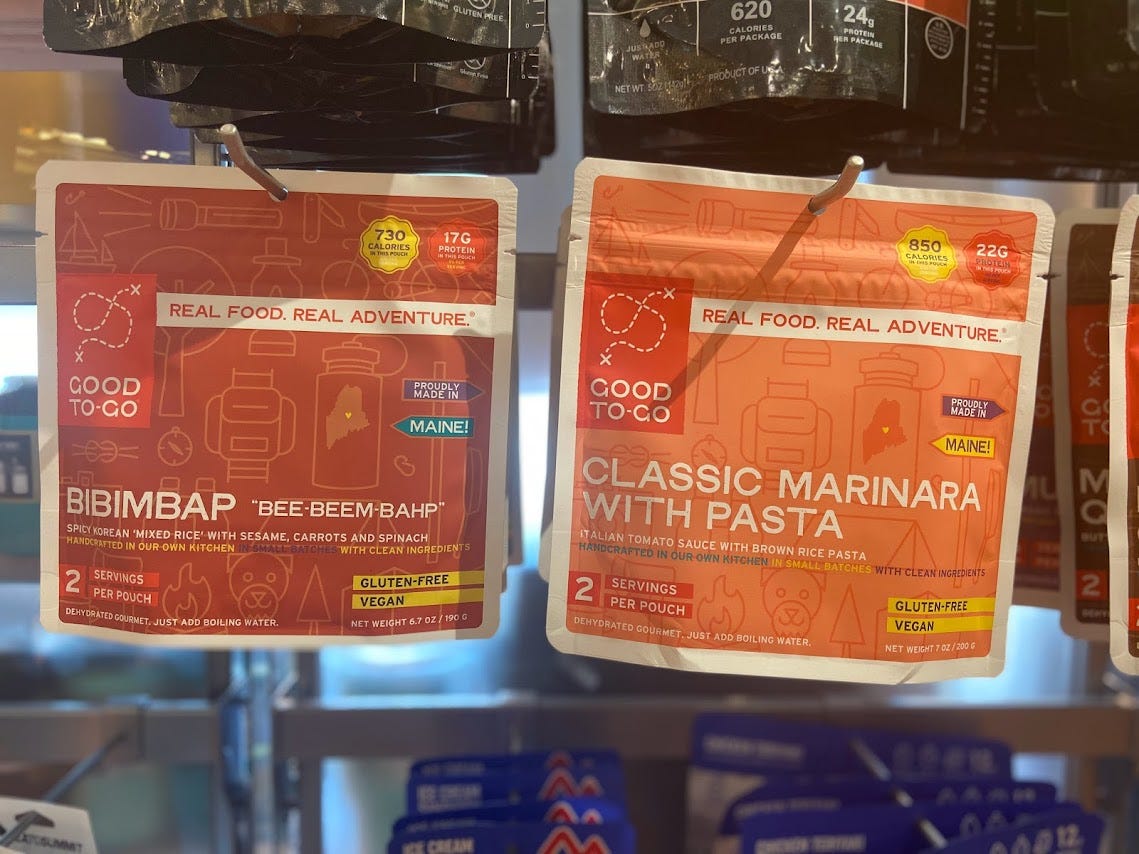
While these are a great option for overnight trips or shorter backpacking trails, it is more cost-effective and, in most cases, lighter to put together your own meals using food you can get at most grocery stores. Some of my backpacking food staples include the following: tortillas, nut butter, oatmeal, ProBars, powdered hummus, plant-based tuna, dried fruit/nuts, pasta, quinoa, and beans/rice. I keep saying I will do a post on vegan backpacking food and eventually, I will, but for now, these are the foods I take with me on a typical trip into the backcountry. If I do end up packing a store-bought, dehydrated meal, I normally go with Backpacker’s Pantry or Patagonia Provisions, and depending on the length of the trip, I will only bring 2-3 of these to keep weight down.
A note on cold-soaking
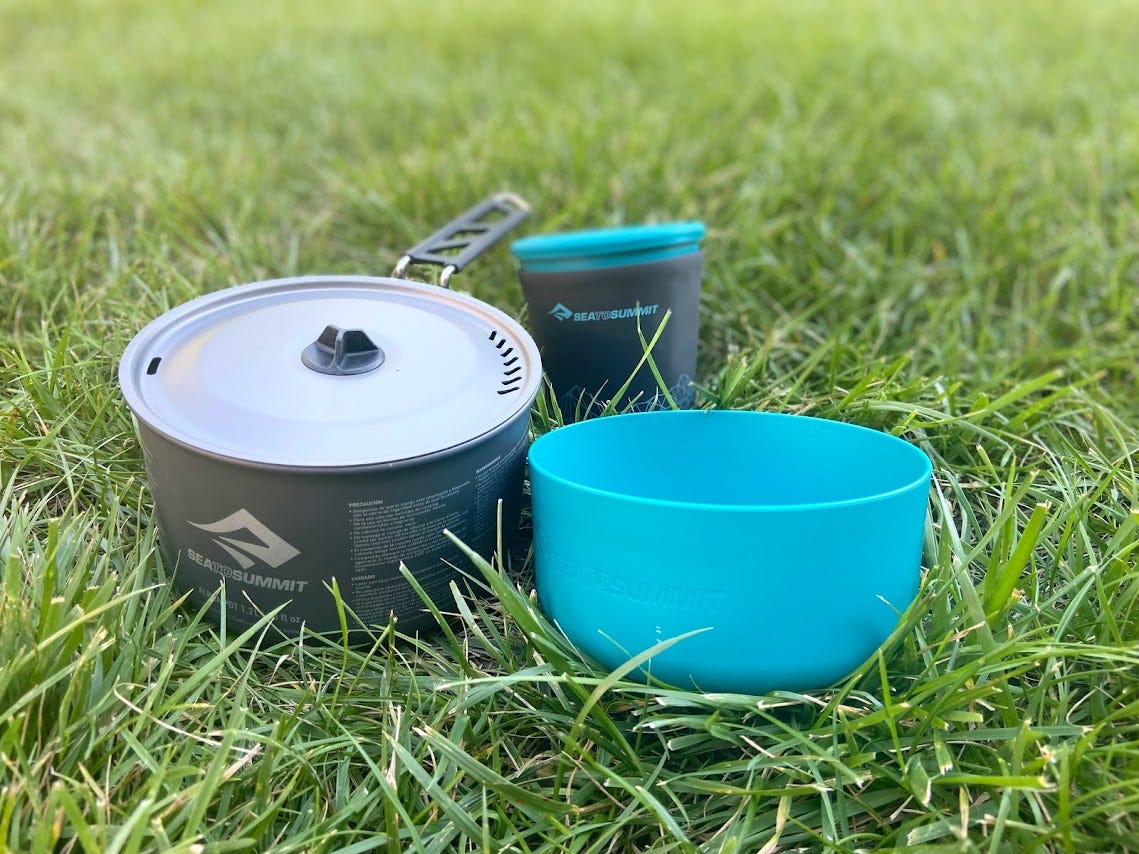
Bringing a stove with a pot and fuel is the most common form of cooking method backpackers use. However, there is cold-soaking as well, also known as the tragic black sheep of hiker trash, ultralight life. Cold soaking is an option for those who are looking to save even more weight and go stoveless. On the outside, this practice looks super attractive! No stove means no pot or fuel to carry which can drastically cut those precious ounces. Yet, there are downsides. The act of cold-soaking involves rehydrating food by using filtered water. Nailing the specific time required to rehydrate Ramen noodles vs rice vs any other grain or starch takes practice and many failed crunchy meals to get it right.

In this way, the food is normally soaked in a container (some use empty Talenti jars or peanut butter jars, but any decent-sized container with a screw lid works the best) and once the food absorbs all the water, it is eaten cold. I will go into further detail on my sad experiences with cold-soaking at the end of this post, but overall, this method is efficient at keeping your pack weight down. If interested, I would research more and try it out for yourself. Just keep your expectations low and be prepared to be unsatisfied with the taste and texture. However, at the end of a long, 20-mile day, you may not even care.
Tips for packing food
So, say you’re getting ready to go on a five-day backpacking trip through the Smokey’s and you just got back from Walmart with a bunch of lightweight food options, what’s next? A trick I do to help organize the food inside my pack is to divide the items into gallon/quart-sized Ziplock bags. Each gallon baggie will have breakfast, lunch, and dinner inside and snacks will be inside the quart-sized ones. This honestly just makes it easier when I am actually on the trail because my brain gets overwhelmed with having a free-for-all of random foods sitting at the bottom of my pack.
From there, it’s helpful to have a few more quart Ziplock bags on hand not only for a place to keep trash but also as a way to divide your lunch from the rest of your food for each day on trail. By doing this, you keep breakfast/dinner options inside your pack and lunch in a side pocket outside of the pack, so you don’t have to annoyingly go fishing for lunch in the middle of the day every single time. It makes sense because a backpacker typically won’t need access to breakfast/dinner foods unless while at camp. This tip doesn't necessarily have anything to do with going ultralight, but I think it’s a helpful trick to know no matter how you backpack just from a convenience standpoint.

It’s also worth noting that if you are concerned about weight, it is beneficial to portion foods out beforehand. For example, don’t bring an entire bag of trail mix with you. Portion the amount you think you’ll eat on the trip and scoop it into a smaller Ziplock bag. If you’re bringing tortillas, don’t take the entire package. With the five-day Smokey trip scenario, if you plan on eating one tortilla a day, only take five. With nut butter, it’s more practical to buy individual packets instead of a whole jar. The goal: keep things as light as possible without compromising your nutritional needs.
The many misadventures of cold soaking
I started cold-soaking at the beginning of my ultralight journey because I wanted to be like the other cool hikers I read about online. These people had nice setups and hiked fast. It was the “badass” aspects of it that drew me in. Friends scoffed at this idea though and said cold-soaking would be miserable, especially since it’s such a morale booster to have a hot meal at the end of a long day on trail. I refused to listen though because I am stubborn and was determined to make it work.
In my many attempts to “make it work,” I ended up consuming a lot of soggy Ramen noodle dinners with tuna and peanut butter in an effort to have my own “hiker trash Pad Thai.” I also had several crispy rice meals that made me feel dead inside and even tried instant mashed potatoes with bacon bits, which tasted nothing like the loaded baked potato I was craving. My grandmother would be disappointed. Throughout all of these endeavors, I kept convincing myself that I loved what I was eating when in reality every bite felt like punishment.
I tried. I really tried to love cold-soaking. But at the end of the day, it wasn’t for me. I still would like to experiment with different recipes and see if cold-soaking can actually be good and satisfying. However, for now, I will typically bring a stove with me on backpacking trips. This is a perfect example of identifying the gear items that you don’t want to go without, even though they might not be the lightest weight options out there. If being ultralight was my top priority, sure I would cold-soak and cry every single time. But, my main focus on these trips is to be comfortable and enjoy the hike. Therefore, I make a compromise.
Takeaways
If you plan on switching to a more ultralight setup, just remember that you don’t have to be like another hiker and use the same methods as them if you don’t want to. That doesn’t make you any less of a badass or mean that you’re doing something wrong. You have permission to find your own way and discover the techniques that will enhance your experience in the backcountry instead of trying to force an approach that isn’t working out. What works for you may not work for another and vice-versa. And that’s okay. In other words, hike your own hike. That phrase may be severely overused, but all in all, it rings true.
That’s all for this week! Stay tuned for part three of the Ultralight Backpack Guide next Tuesday!
And as always, see you out on the trail!