


Ultralight Backpacking Guide! Part Four
The final post in the four-part series here to cover you in a jacket when it gets cold

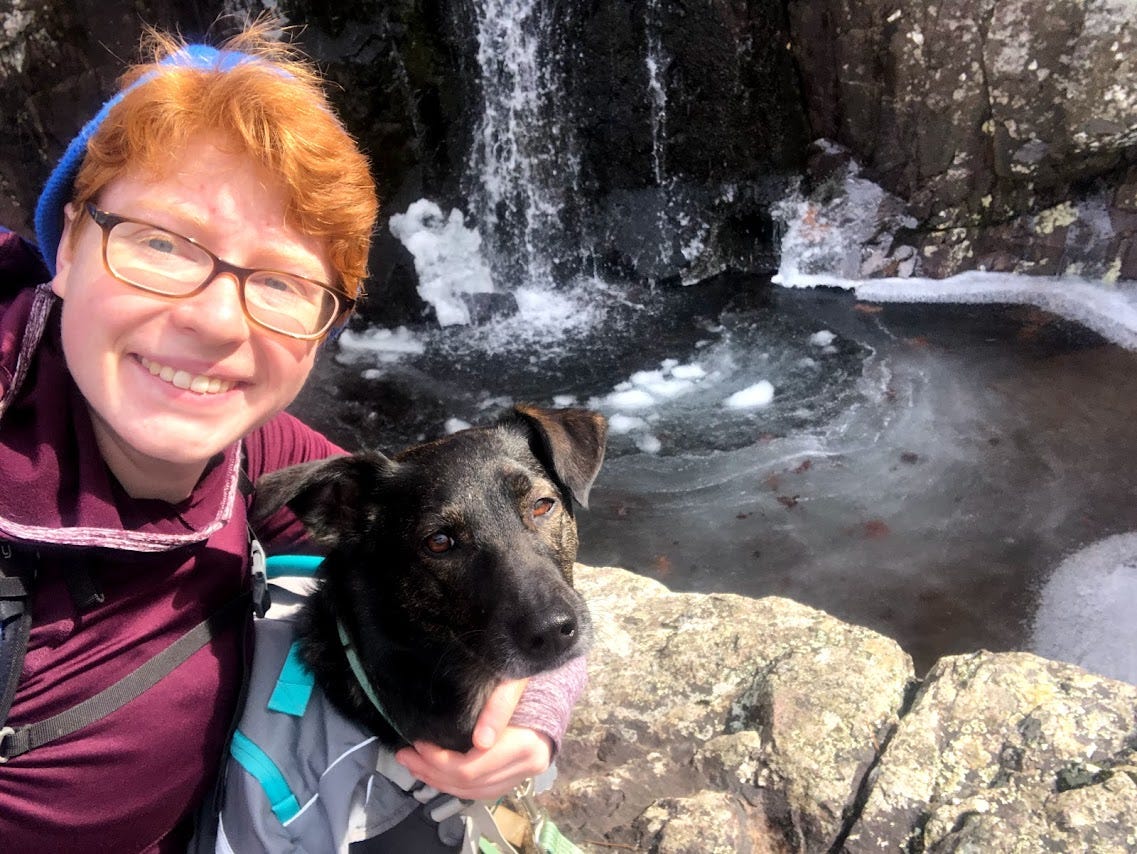
Are you guys sick of reading about ultralight backpacking yet? I’m not! But if you are, you can get your hopes up because this is the fourth and final part of the series. Yes, we have finally made it. So far, we’ve covered A LOT of information. From luxury items to the horrors of cold soaking, to debates about insulation, to hilarious stories on how not to go backpacking, and everything in between. Oh boy, we have talked about it all. At least, we almost have. This week we are wrapping up on gear by going over what clothes to consider on your next trail adventure. We will also touch on something a lot of outdoor professionals don’t mention and that’s the mental components of backpacking and how that can impact going ultralight. What would a Callie Hikes post be about if I didn’t address anything mental health related? But first…clothes!
There is so much to know about outdoor clothing and how to best dress yourself for any type of situation faced in the wilderness. To make it all make sense, I’m going to break down clothing options by season or temperature ranges, considering different places typically have different climates and therefore different temperatures depending on the time of the year. Winter in Florida is very different than winter in Michigan. So, let’s dive in.
Spring/Fall or 60 to 40 degrees
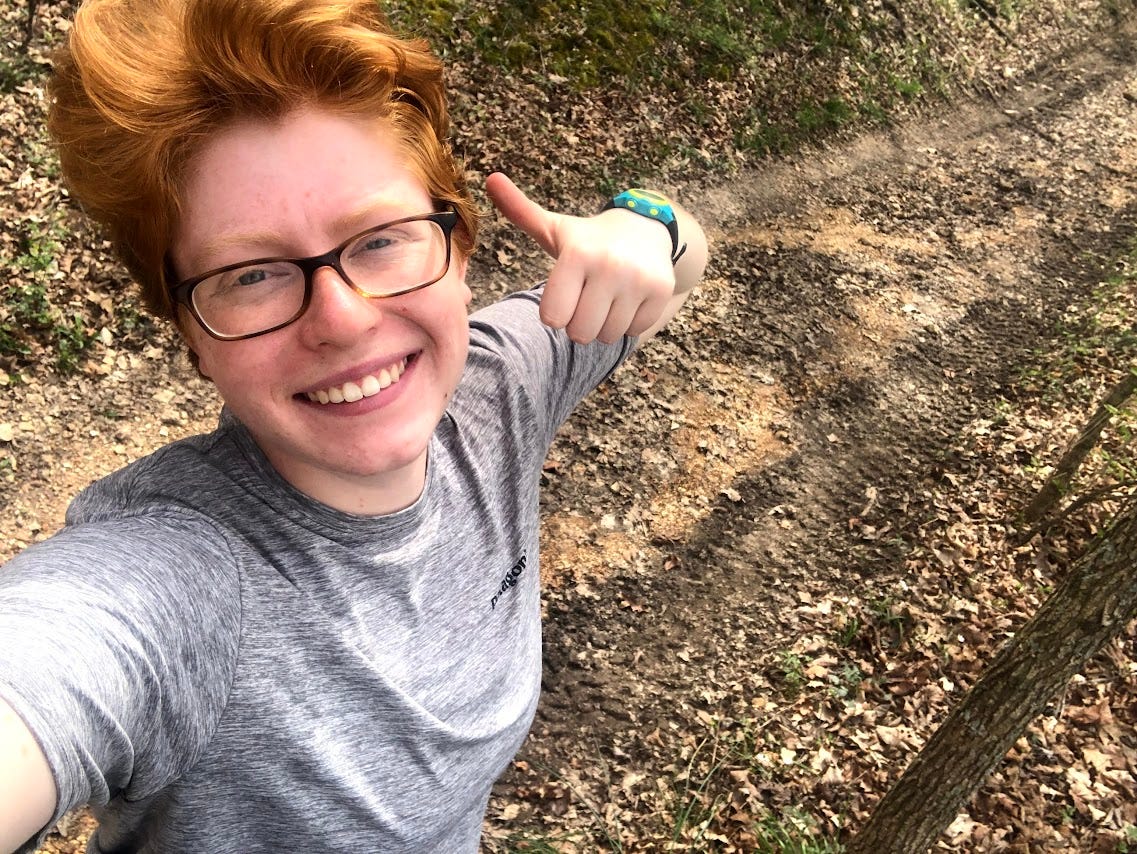
Spring and fall are both very unpredictable, deceiving seasons. When I think of hiking in spring or fall, I think of short-sleeve dry-fit shirts, lightweight rain jackets, and pullovers, but this is only half of the equation. The weather can still be chilly and surprisingly cold, so don’t put away your baselayers just yet! Because of this, your setup should be a bit heavier than you’re summer kit. However, there are ways to make it out to your advantage if you’re smart about it. Speaking of layers, a decent layering system will be key to being the most comfortable during these times of the year. Don’t just take a synthetic shirt and puffy coat and call it a day, especially if you’re doing an overnight trip. The following list is usually what I pack when hitting the trail in spring.
Baselayers: One or two sets of long-sleeve top and bottom should be all you need. Layers made from merino wool are the best choice since this material is perfect for wicking away moisture and keeping odor to a minimum. With this being the case, you can go a few more days than you think without having to wash them or switch to a new pair. Also, merino is different than regular wool and usually doesn’t itch or irritate the skin. If you are vegan or just don’t want to wear wool for whatever reason, Patagonia’s Capilene® crews and quarter zips are a great option. On a budget? Fleece baselayers are good too but normally make a better midlayer because of their thickness.
Midlayer top: One fleece/polyester blend quarter zip or pullover should work well!
Pant: One pair of pants/joggers made from synthetic material over the top of the baselayer will keep you cozy when the wind blows. Some nice ones are available from Patagonia or North Face, but honestly, you can find cheaper ones on Amazon or at Target or Walmart that will do just fine.
Insulation: In the 60s, you may not need a puffy jacket if you run a little warmer or you could just use your rain jacket as an added layer instead. But it’s helpful to have an insulated coat when the temperature dips at night. Synthetic jackets like the Patagonia Nano Puff are awesome and pack down so well inside their own pocket, but you could also go with an REI branded one on a discount if you’re worried about the price. Down jackets aren’t super necessary in spring or fall; I think the weather would be too warm for them. But if you run colder or there’s a bad windchill, it could be a good idea.
Socks: There are also merino socks that are great options from Smartwool, Darn Tough, and Fits. But again, if trying to stay away from wool, I recently just purchased some synthetic Wright Socks and have been very happy with their performance. Depending on the length of the trip, I would suggest at least bringing three pairs. It’s always important to have extras just in case. Also, midweight socks would be ideal.
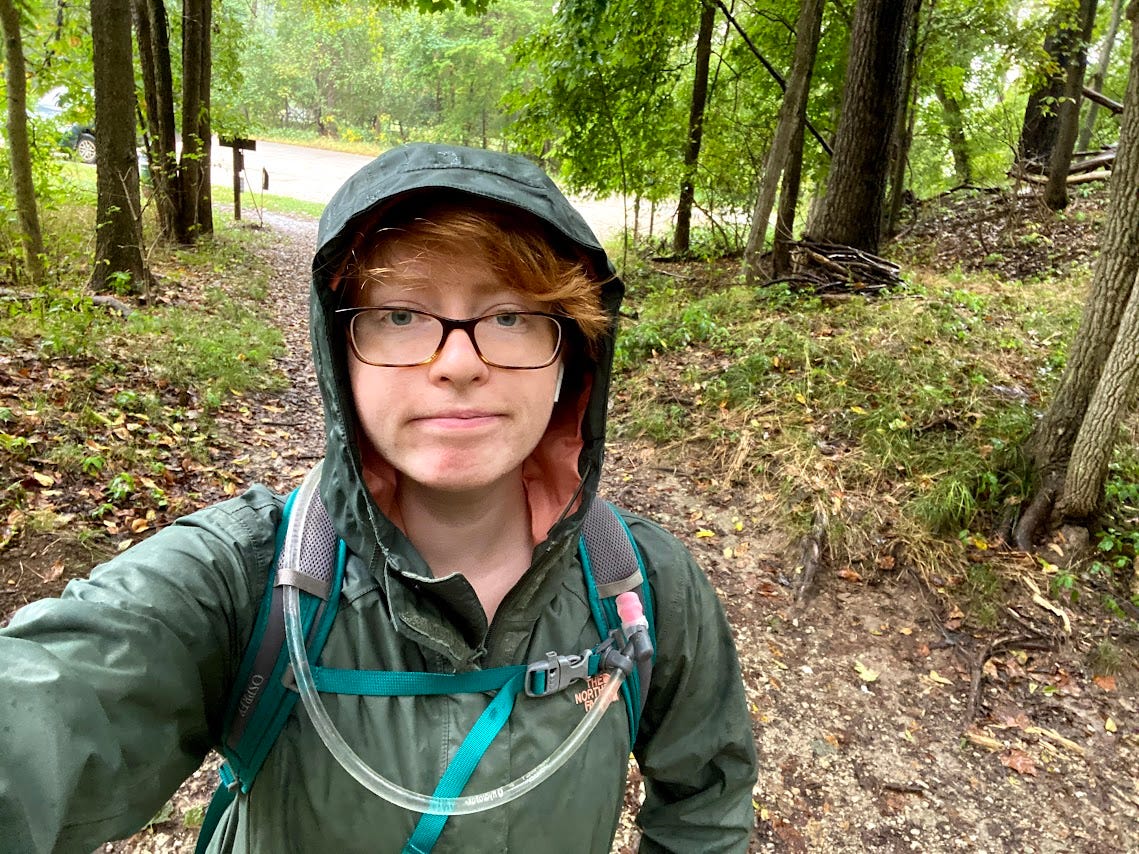
Rainwear: This is important any time of the year, but I think it’s especially so in spring. One jacket and one pair of rain pants should do the trick. As you can guess, there are nice lightweight, durable options from Patagonia, North Face, Marmot, and Columbia. But surprisingly, I’ve had the most luck with Frogg Toggs. You can get them for around 20 to 30 bucks at Walmart or order them from Amazon. These are the most lightweight options I’ve been able to find that meet my stingy ultralight standards and they last a while if taken care of properly.
Also, it’s important to note that taking a synthetic shirt or two is a good idea. As the sun gets high in the sky, you’ll likely shed those baselayers and want to put on something lighter. At night when the weather gets cold, you can always re-layer again.
Summer or 90 to 65 degrees
Because it’s much warmer and humid (especially in the east and midwest), your summer setup will be lighter. Warmer weather = fewer clothes to carry. If you live somewhere at a higher elevation, you should still expect to bring some baselayers, a midlayer, and a puffy jacket for when it gets cold at night or windy during the day. However, if you live where I live and there’s a heat advisory every weekend it seems, you can get away with bringing much less.
Synthetic shirt or tank top: I would bring one or two, but no more than three if you’re going on a longer backpacking adventuring that would require resupplying and doing laundry before hitting the trail again. I love Patagonia’s Capilene® Cool Daily Tank Top as well as their short-sleeve shirt option, but again any synthetic, dry-fit top will do the trick. As long as it’s not cotton, it’s fine.
Shorts/pants: Depending on the trip and how hot it’s going to be, sometimes I don’t even bring pants and just take one or two pairs of lightweight moisture-wicking shorts. You could go with traditional hiking shorts from North Face or Patagonia, but honestly, any athletic style shorts would work fine. Pants or joggers should also be lightweight and breathable as well. You may only need one or two of these.
Rainwear and socks: advice remains the same as what I suggested above. Although, it might be helpful to find thinner socks for this time of year.
Winter or 35 to 10 degrees
Going by the logic, you can already guess that winter will be your heaviest setup because of how cold and brutal the weather can be. More layers are needed and heavier insulated jackets are a given. I am not going into what you would need if you're braving the wilderness in the single digits or below. I don’t have experience in that field, so I don’t want to give you the wrong information. However, I know that there are plenty of other resources for that online that you can certainly research, especially if you’re a crazy maniac and are planning a trip to the Arctic Circle. I wish you all the luck and hope you don’t freeze to death.
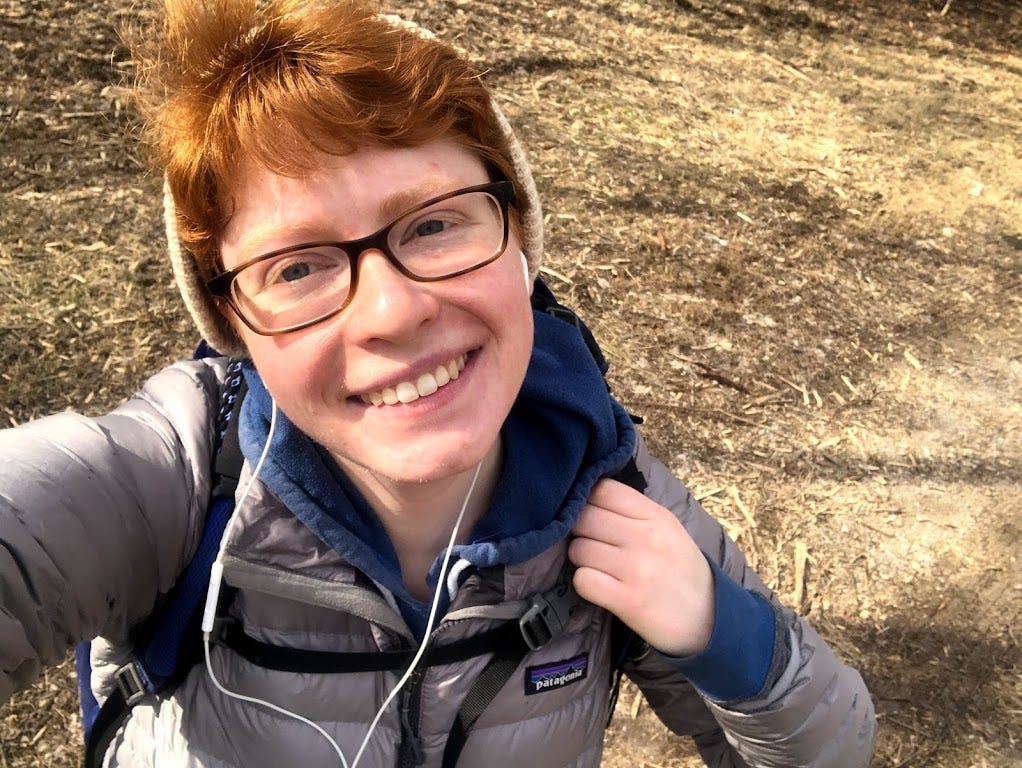
Baselayers and midlayers: the information above applies to this as well, however, I think taking an extra midlayer could be beneficial.
Pants: You could apply more layers to make up for warmth or you could take some pants that have insulation in them to be cozier. I don’t leave the house for a backpacking trip in winter without my Patagonia Nano Air pants. To my knowledge, I don’t think they make these anymore, which is a huge bummer because these pants are amazing! They feel like you’re physically wearing a sleeping bag. If you can find something similar, hiking pants with synthetic insulation and preferably a DWR (durable water repellant) coating, then I would highly recommend investing in them.
Insulation: when the temperature is this frigid, a down-insulated jacket would be your best choice. The Arc’teryx Cerium LT Hoody is perfect and so is Patagonia’s Down Sweater. These are two classics that stand out among the rest. If looking for something that is not down, the Patagonia Nano Puff again is a good option, or North Face’s ThermoBall. If going in this direction, I would definitely pack an extra midlayer for more warmth.
Rainwear: The information above still works in this situation too. Although, I will point out how important it is to pack these items if wearing a down jacket. Putting a rain jacket over your down piece will keep you warm and protected from snow or freezing rain. It’s also a good idea to do this with a synthetic jacket too, but it is especially crucial for a down outer layer.
Socks: It’s still important to take at least three pairs. Having socks that are a little thicker and heavier weight would help as well.
Emotional pack weight
As with any athletic endeavor, there is a huge mental aspect involved with backpacking that can make or break your time in the backcountry. Traditional backpacking can be just as mentally rigorous and taxing as going ultralight. The only thing I will add that might seem super obvious by now is how certain creature comforts are thrown out the window when deciding to lighten your load. I spoke a little about this in the first part of this guide but didn’t really go into how hard that decision can be. I recommend knowing your “why” before attempting to go down this ultralight path. Not just your “why” for backpacking in general (because that is definitely super important), but your “why” for wanting to make your setup lighter than it was before.
Is it to prevent injury? Is it to focus more on the trail rather than the soul-crushing weight on your back? Is it to hike faster, set a record, get to camp sooner, or any other speed-related goal? Whatever your reason, hone in on it. Journal about it. Talk about it with others. Make a vision board if that’s how your mind works. Do whatever you can to help yourself process what you are about to do. When the days are tough and your tent feels too small, or you miss the comfort and pleasure a pillow or coffee press brings, knowing your “why” helps keep you motivated and focused on the goals you set for yourself.
It can also help to realize that your setup can change and evolve over time. Each backpacking trip is a unique opportunity to gather data for the improvements you want to make for the next trip. Experiment with sleeping under a tarp and if it’s not for you, don’t guilt yourself into keeping it a part of your setup just because it’s the most lightweight option. Move on! Try something else if you hate it. It’s your experience and your experience alone. It’s okay to make sacrifices to be more ultralight, but if you make so many exclusions that leave you massively miserable like I was with the Berryman fastpacking trip, then it’s not worth it.
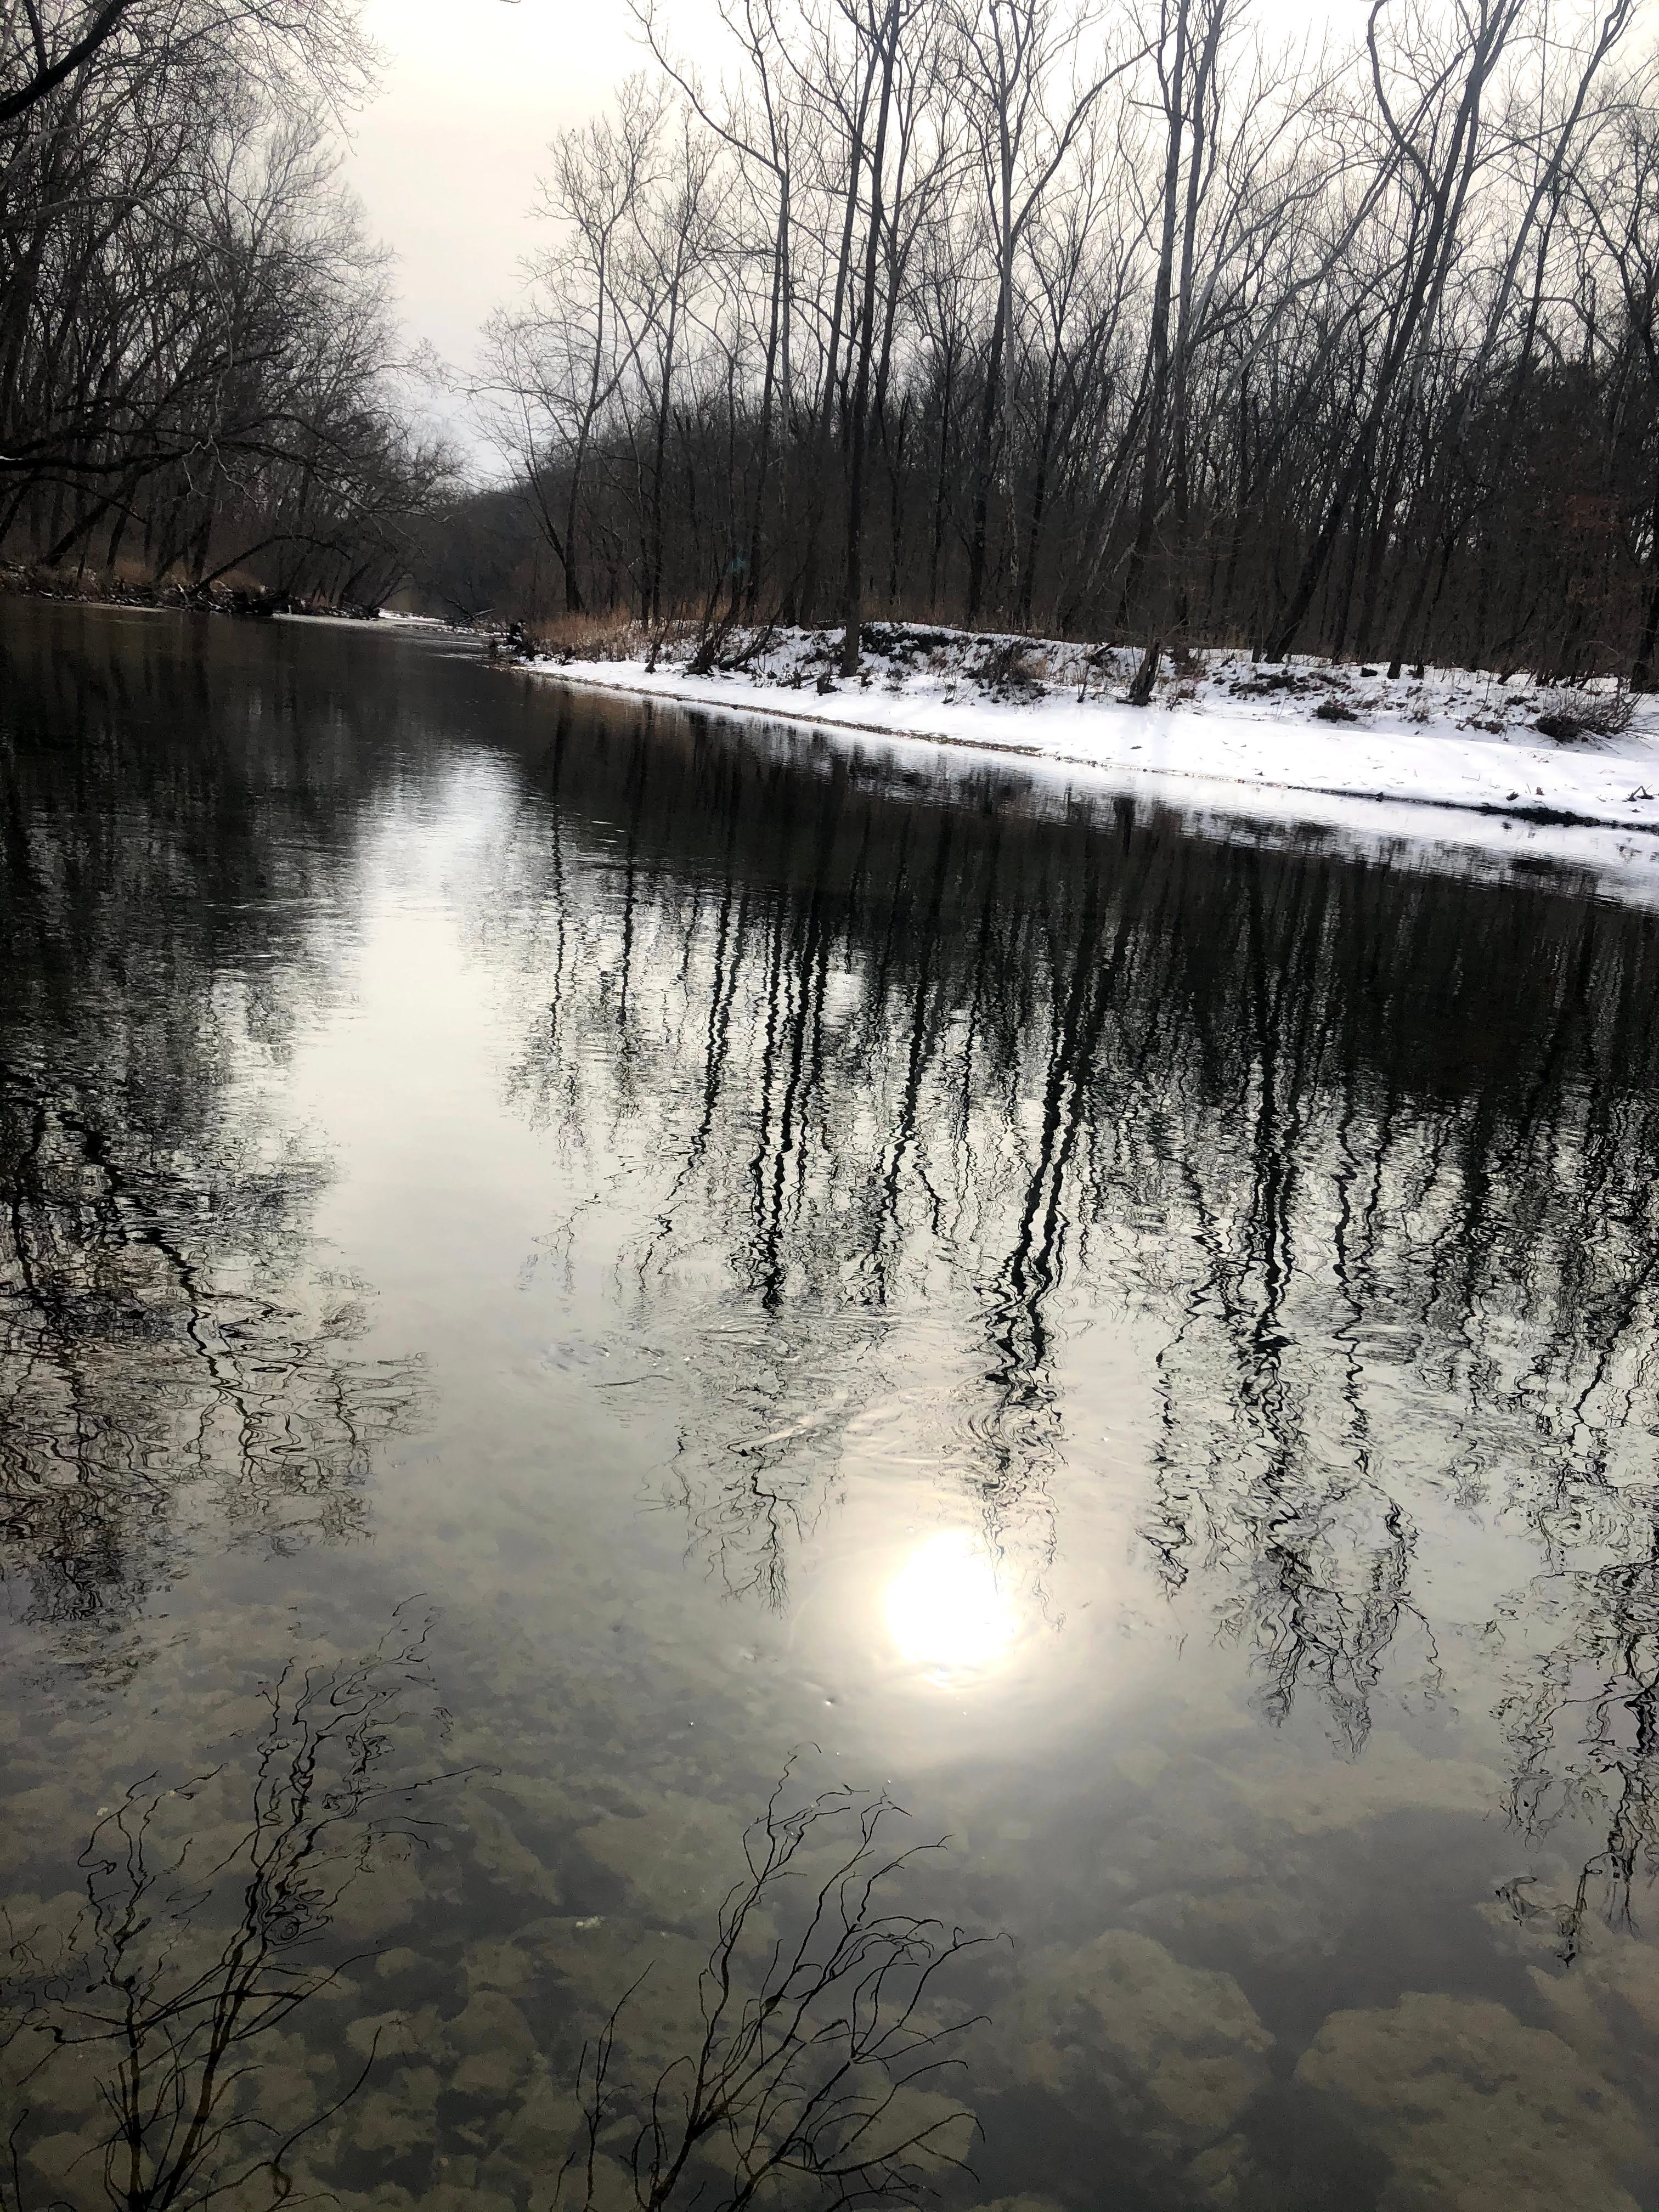
The coldest night of my life
As with all the other posts, I’ll end this series with a story about the hike I learned the most from at the beginning of my ultralight journey. It was December in the Midwest and exceptionally cold by this point in the year. I had just started working at the Alpine Shop and didn’t have a decent winter jacket yet to accommodate for the ridiculously frigid temperatures. Seriously, I wore my rain jacket as an outer shell on most days and just braved the weather. I’m honestly not sure why I hadn’t bought a puff coat by then (probably because of the price, even with a discount), but I didn’t want the cold to stop me from backpacking. A co-worker ended up giving me his North Face soft shell jacket for an overnight trip I had planned on the Ozark Trail and for the rest of the layers, I just used whatever combo of sweatshirts and leggings I had in my closet at the time.
I remember the hike going well at first. The air felt like being inside of an icicle; there was snow on the ground and the sky was a bleak swirl of frosty clouds. Honey was with me and we only planned to do 15 or so miles out and back on the Courtois Section of the OT. When we got to our campsite for the night, the sun started to go down which caused a rapid plummet in temperature. It had to have been close to the single digits and all I had was a soft shell and my 25-degree sleeping bag to protect me from the cold. Basically what I’m trying to say is that I was up all night shivering. I’m pretty sure I didn’t sleep at all and if you’ve ever had nights like these in the backcountry, you know how much they suck.
I crawled out of my tent at some point to use the bathroom and I remember looking up at the sky. To this day it was the most magnificent winter night sky I’ve ever seen with the full moon and stars lighting up the darkness around. Everything was so crisp and clear. At least, there was something good from this experience. With snot running down my face, I dragged myself back into what little warmth my sleeping bag provided and just tried to not think about how freaking cold it was.
After leaving the trail the next morning in a sleep-deprived haze, I drove back home and had to blast my air conditioning the entire way because I kept nodding off and swerving on the road. As you may have gathered by now, I’ve had many terrible experiences while trying to go ultralight and I haven’t even talked about them all believe it or not. I’ve made so many mistakes and have definitely paid the price for them fully over the years. All in all, it’s important to bring the right gear and not do what I did like on this trip because things could have easily turned into a bad situation quickly. However, you can read these posts all you want and dive into the darkest depths of YouTube to find answers, yet you will never find what works for you without trying it out for yourself first. As with life, you will make mistakes. And that’s ok.
That concludes the Ultralight Backpacking Guide series! I hope you enjoyed it. I promise there will be something new and fresh next week without all the gear talk, so be on the lookout for that on Tuesday!
See you out on the trail!